My Process
My art goes through quite a few stages before I call it done…the first step is to come up with an idea. Here’s one, how about an image of the Hulk and Bruce Banner from the latest Marvel Movie….
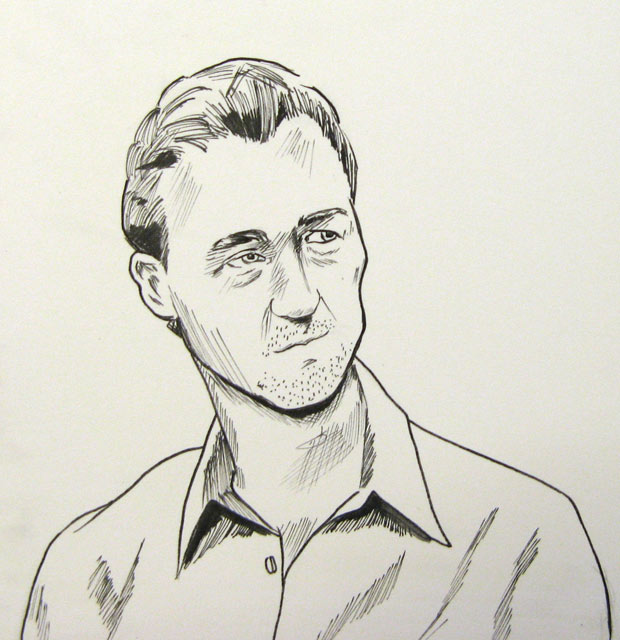
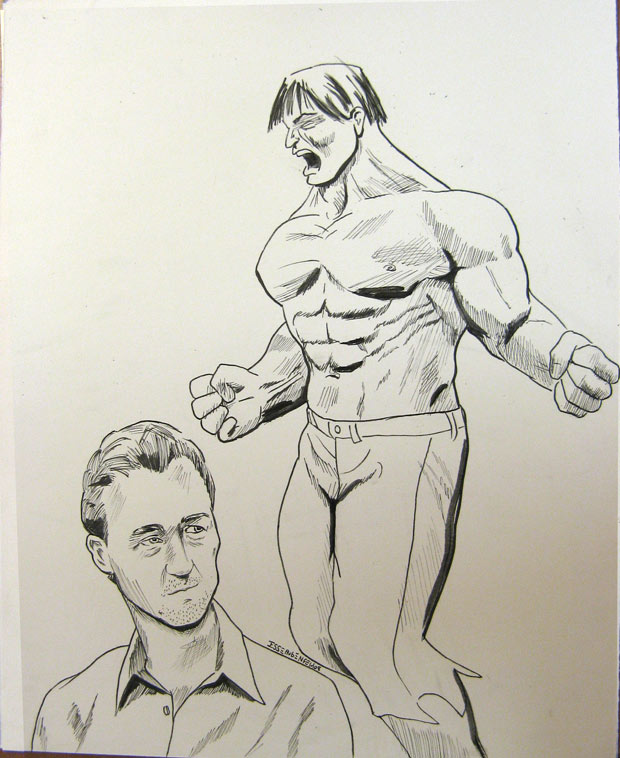
To start off, I look at a bunch of photos of the actor, in this case Edward Norton….I will pencil him out in a few ways until I get a likeness I like.

next I go over my lines with ink….simple enough
now it’s time to add his Mr.Hide…the Hulk, I think I can pretty much draw the big green giant from memory, but I peek at a poster for the movie to get the hair and facial structure right.
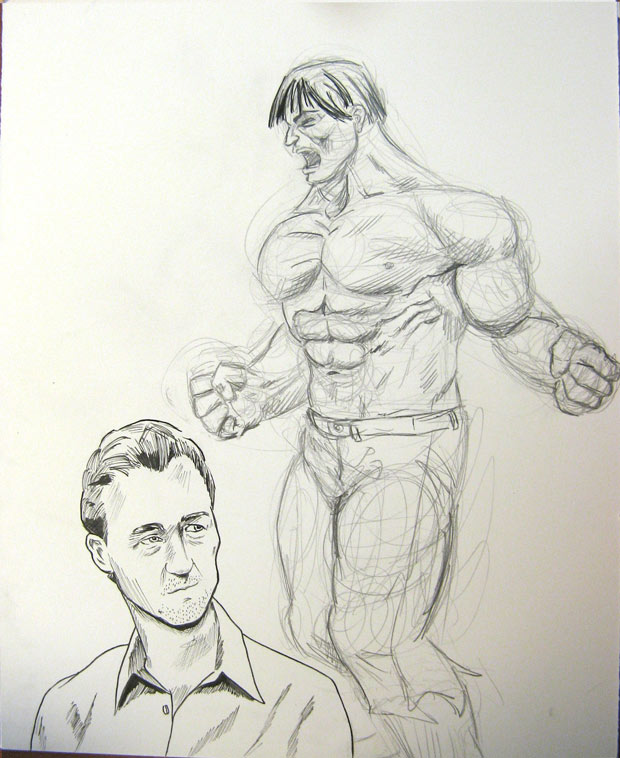
time to ink him up.
right…now I start to go in with some layers of ink wash, trying to make the characters pop off the page a bit.
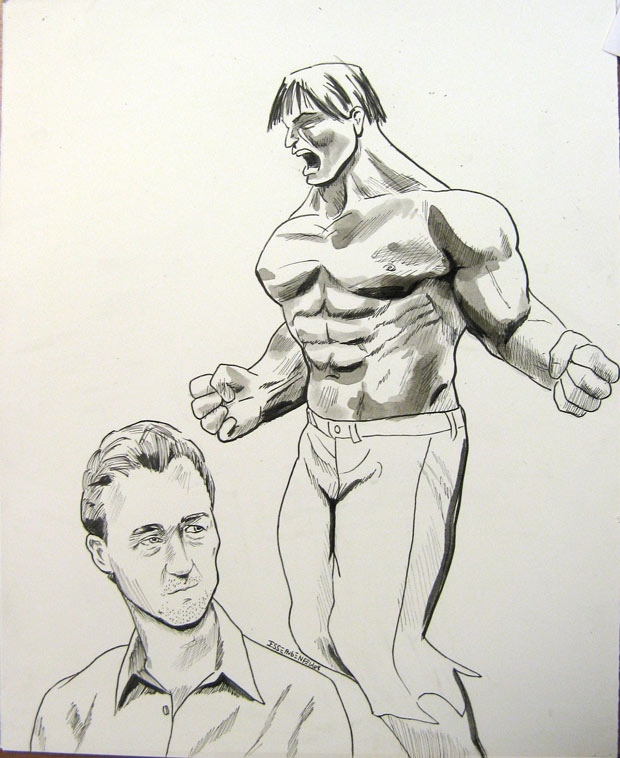
I try not to rub around much with my brush, it tends to rip up the paper a bit, and you loose some of the lines

Can’t forget Mr. Banner there, the hatching alone falls too short in giving him the depth that I like
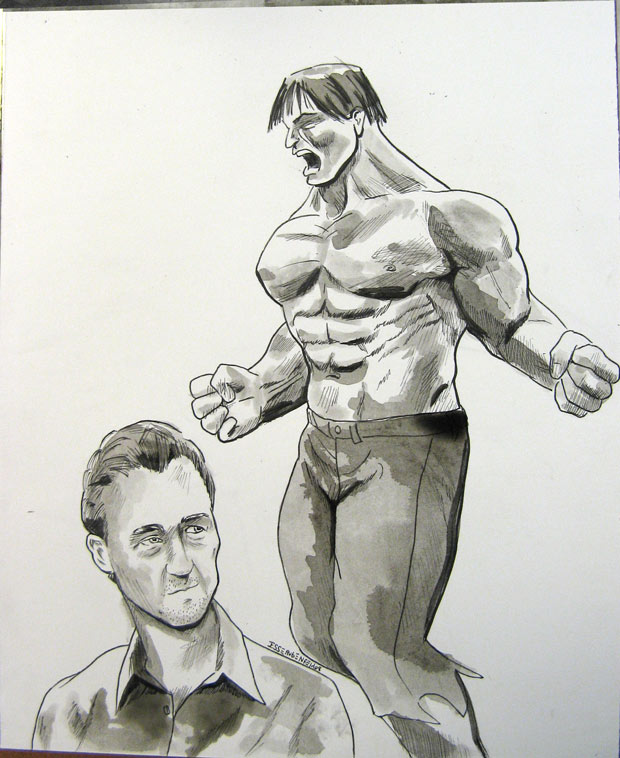
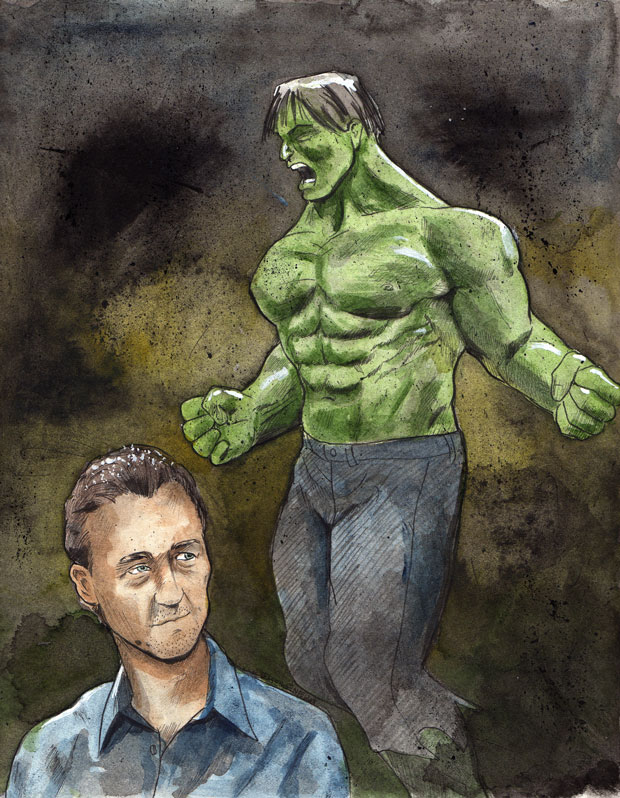
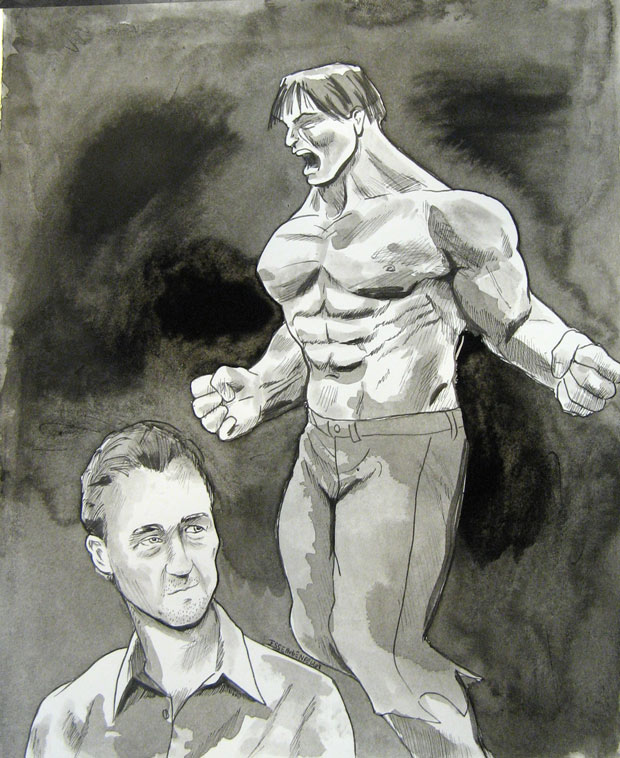
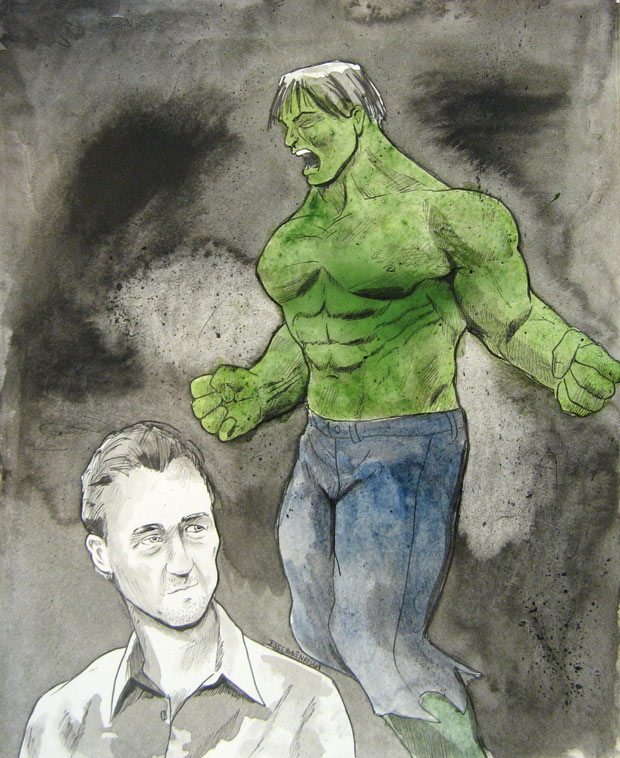
As you can see above, I lay down my ink washes heavy, they tend to pool up a bit on places like Hulk’s pants. I dab it down with a paper towel when that happens…usually. Next, time to make the figures pop even more, darken the background….with a pinup like this, I tend to keep things simple, try not to draw attention away from the main figures…if I were working on a comic book page, I would be considering setting well before I even start laying down pencils for characters…
now it’s time to start laying down some color. As you will start to see, even though my figures have quite a bit of ink wash and cross hatching on them, they will flatten out drastically with the addition of color.
I start out with fairly flat areas of color.
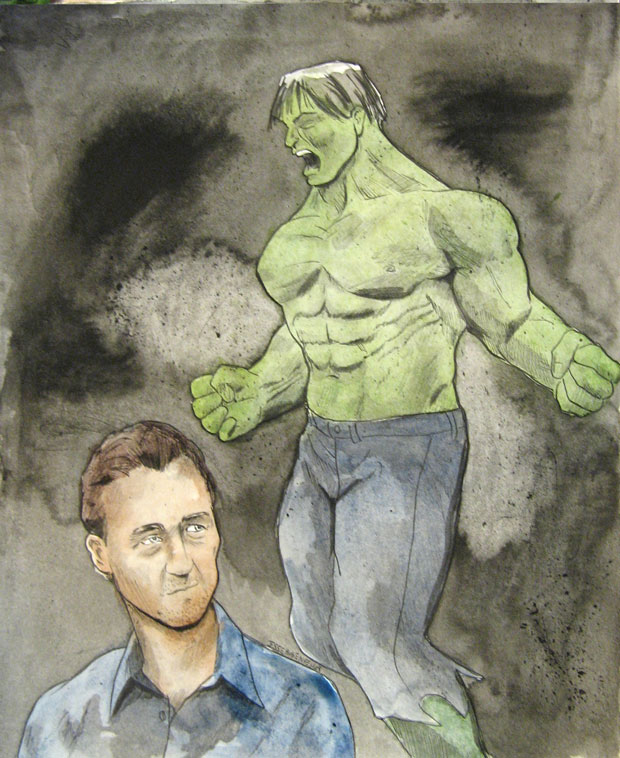
it is only after all the color is down that I go back in with some ink wash and some more color to shade the figures and pull them back to their 3d-ness
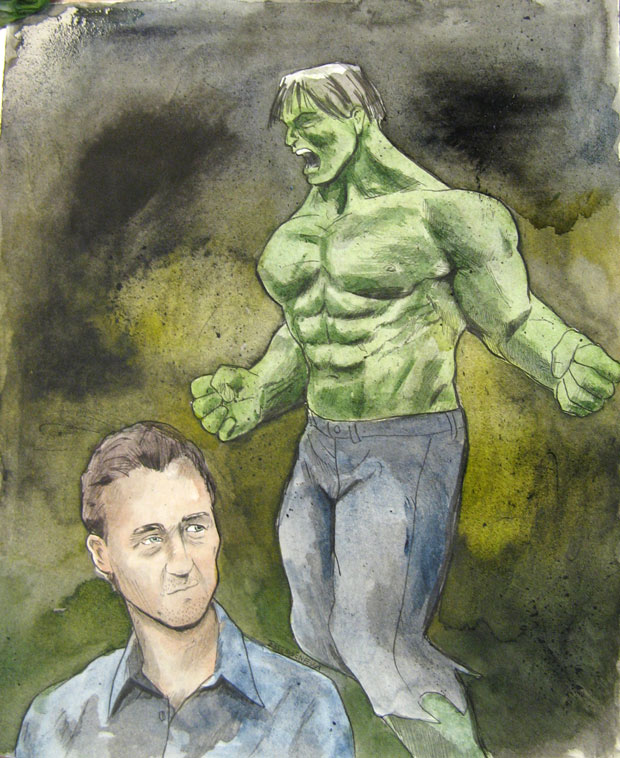
After adding some background color, I go back with a whiteout pen to add some highlights. which brings you to the final product.